
Organizer guide
How the portal works
A short tour of what you see after you sign in: from the Overview dashboard through events, door scanners, team invites, and Mollie payments.
1. Sign in & Overview
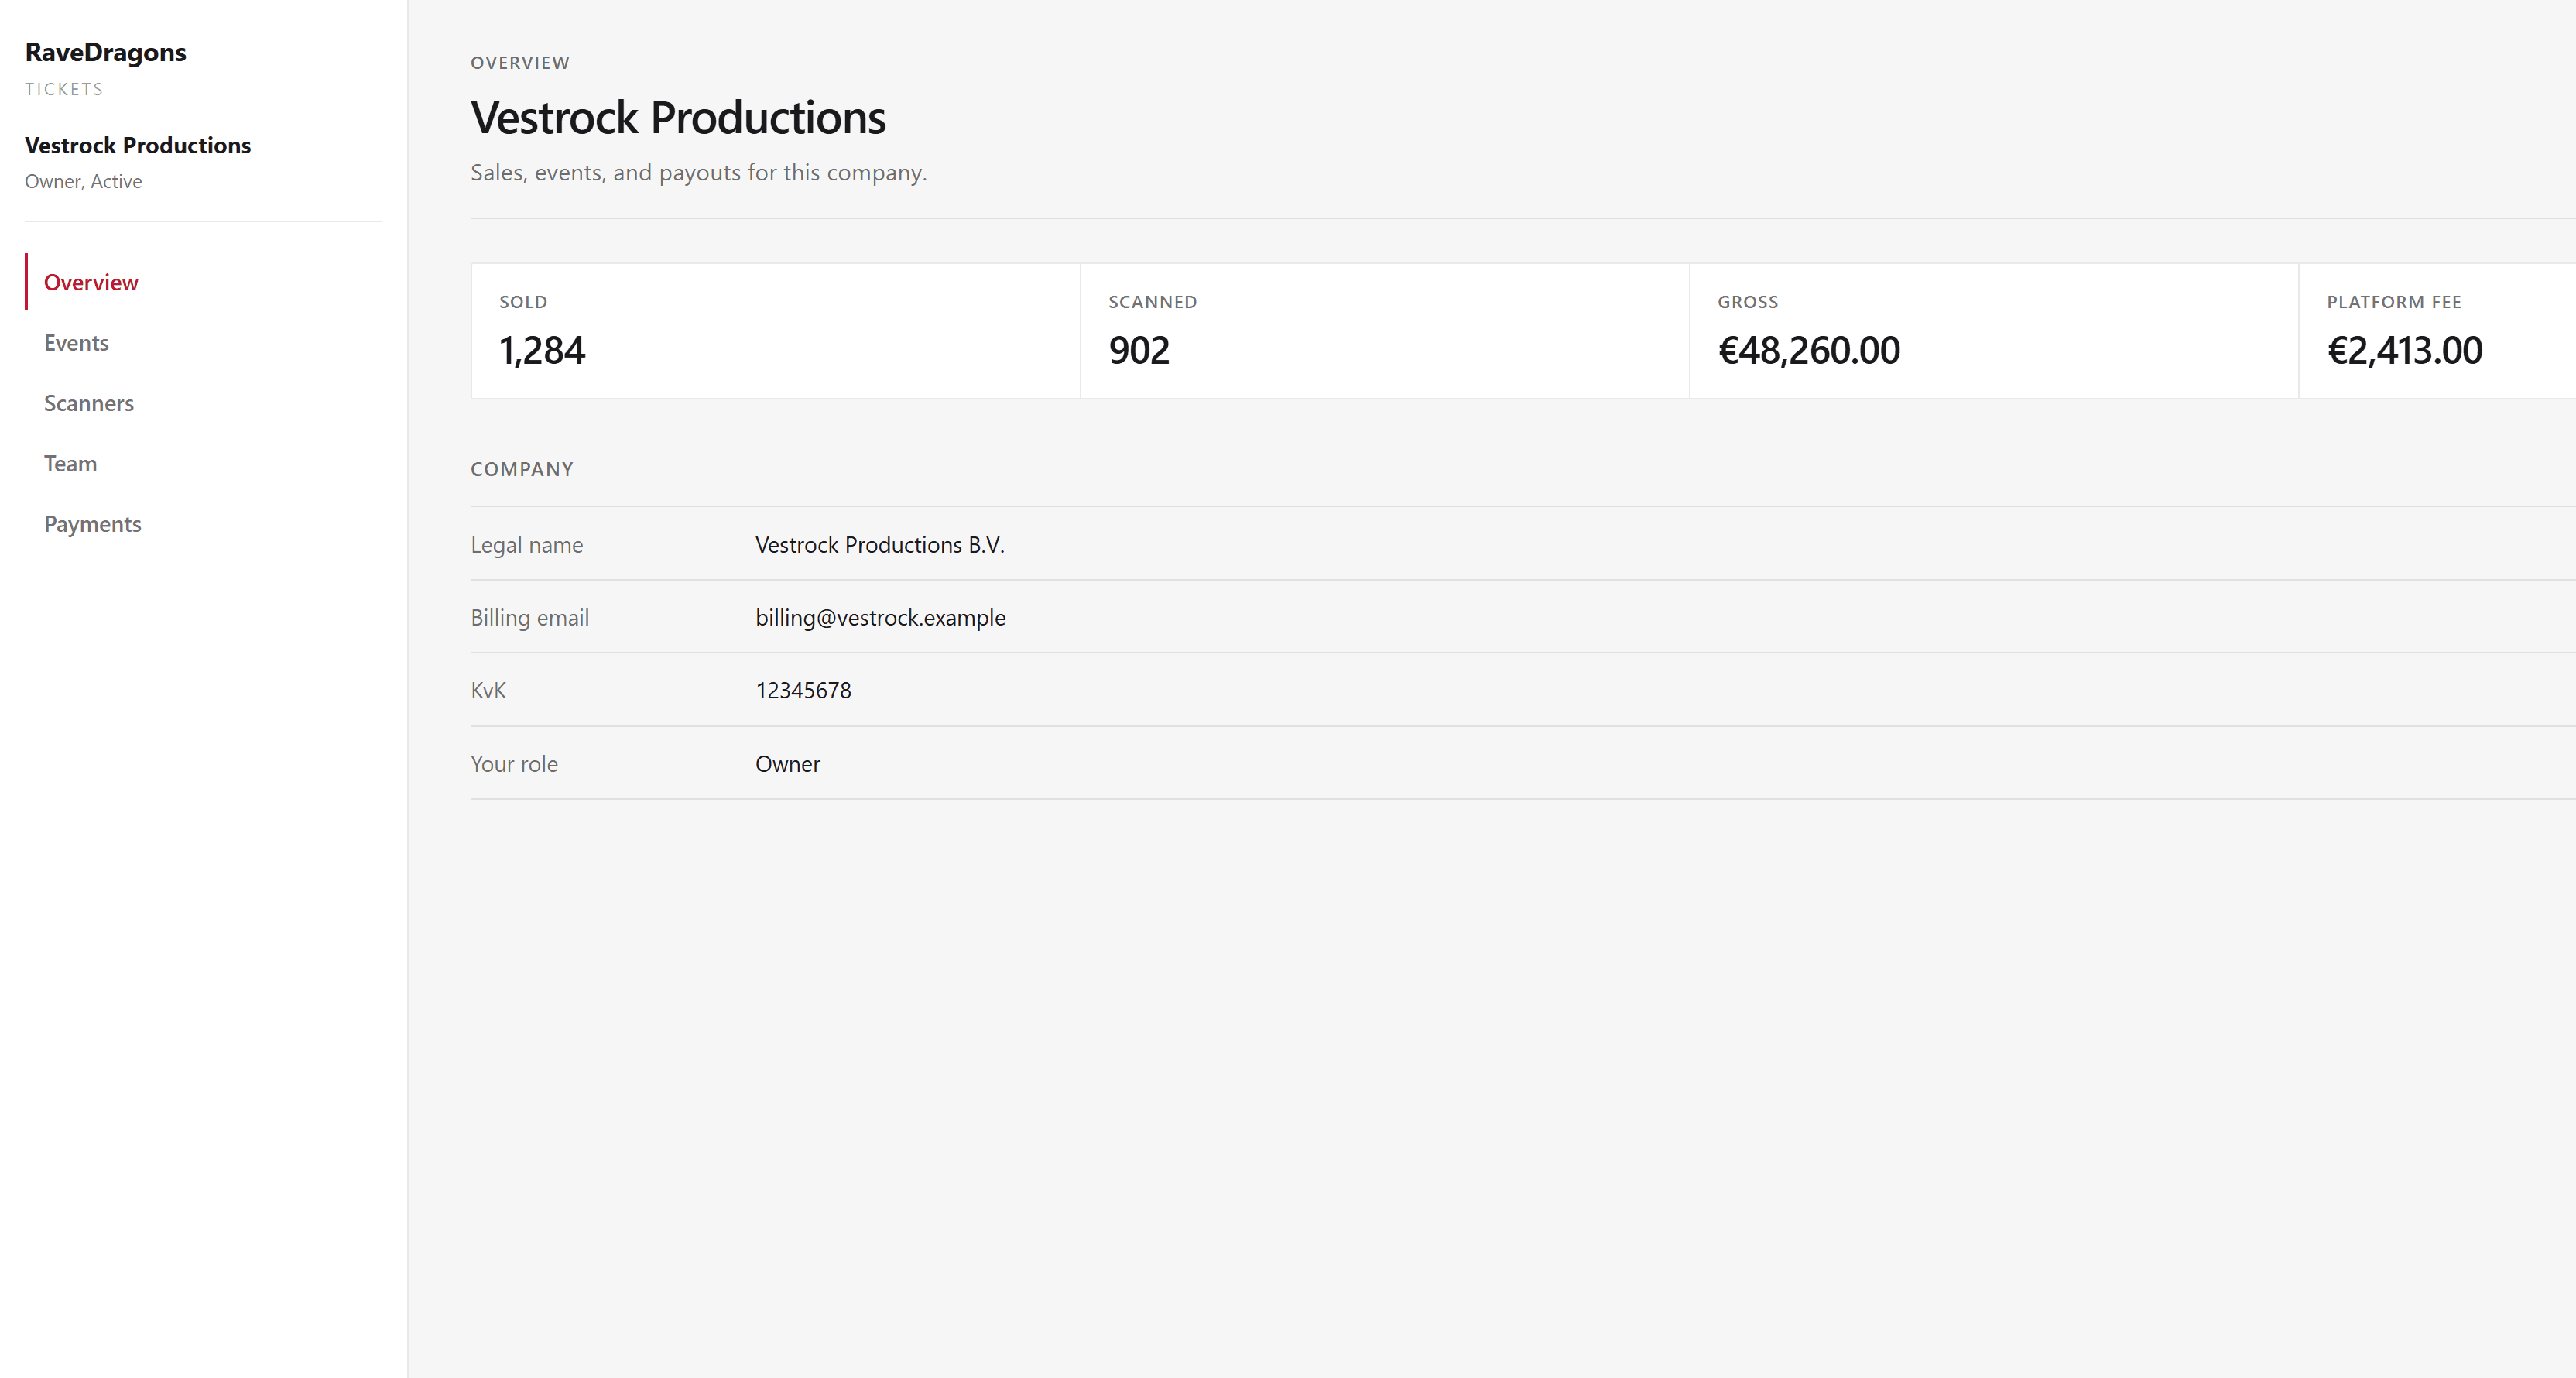
After you log in, Overview is your company command center. You see sales metrics (sold, scanned, gross, platform fee), your company profile details, and quick links into events and payments.
2. Events
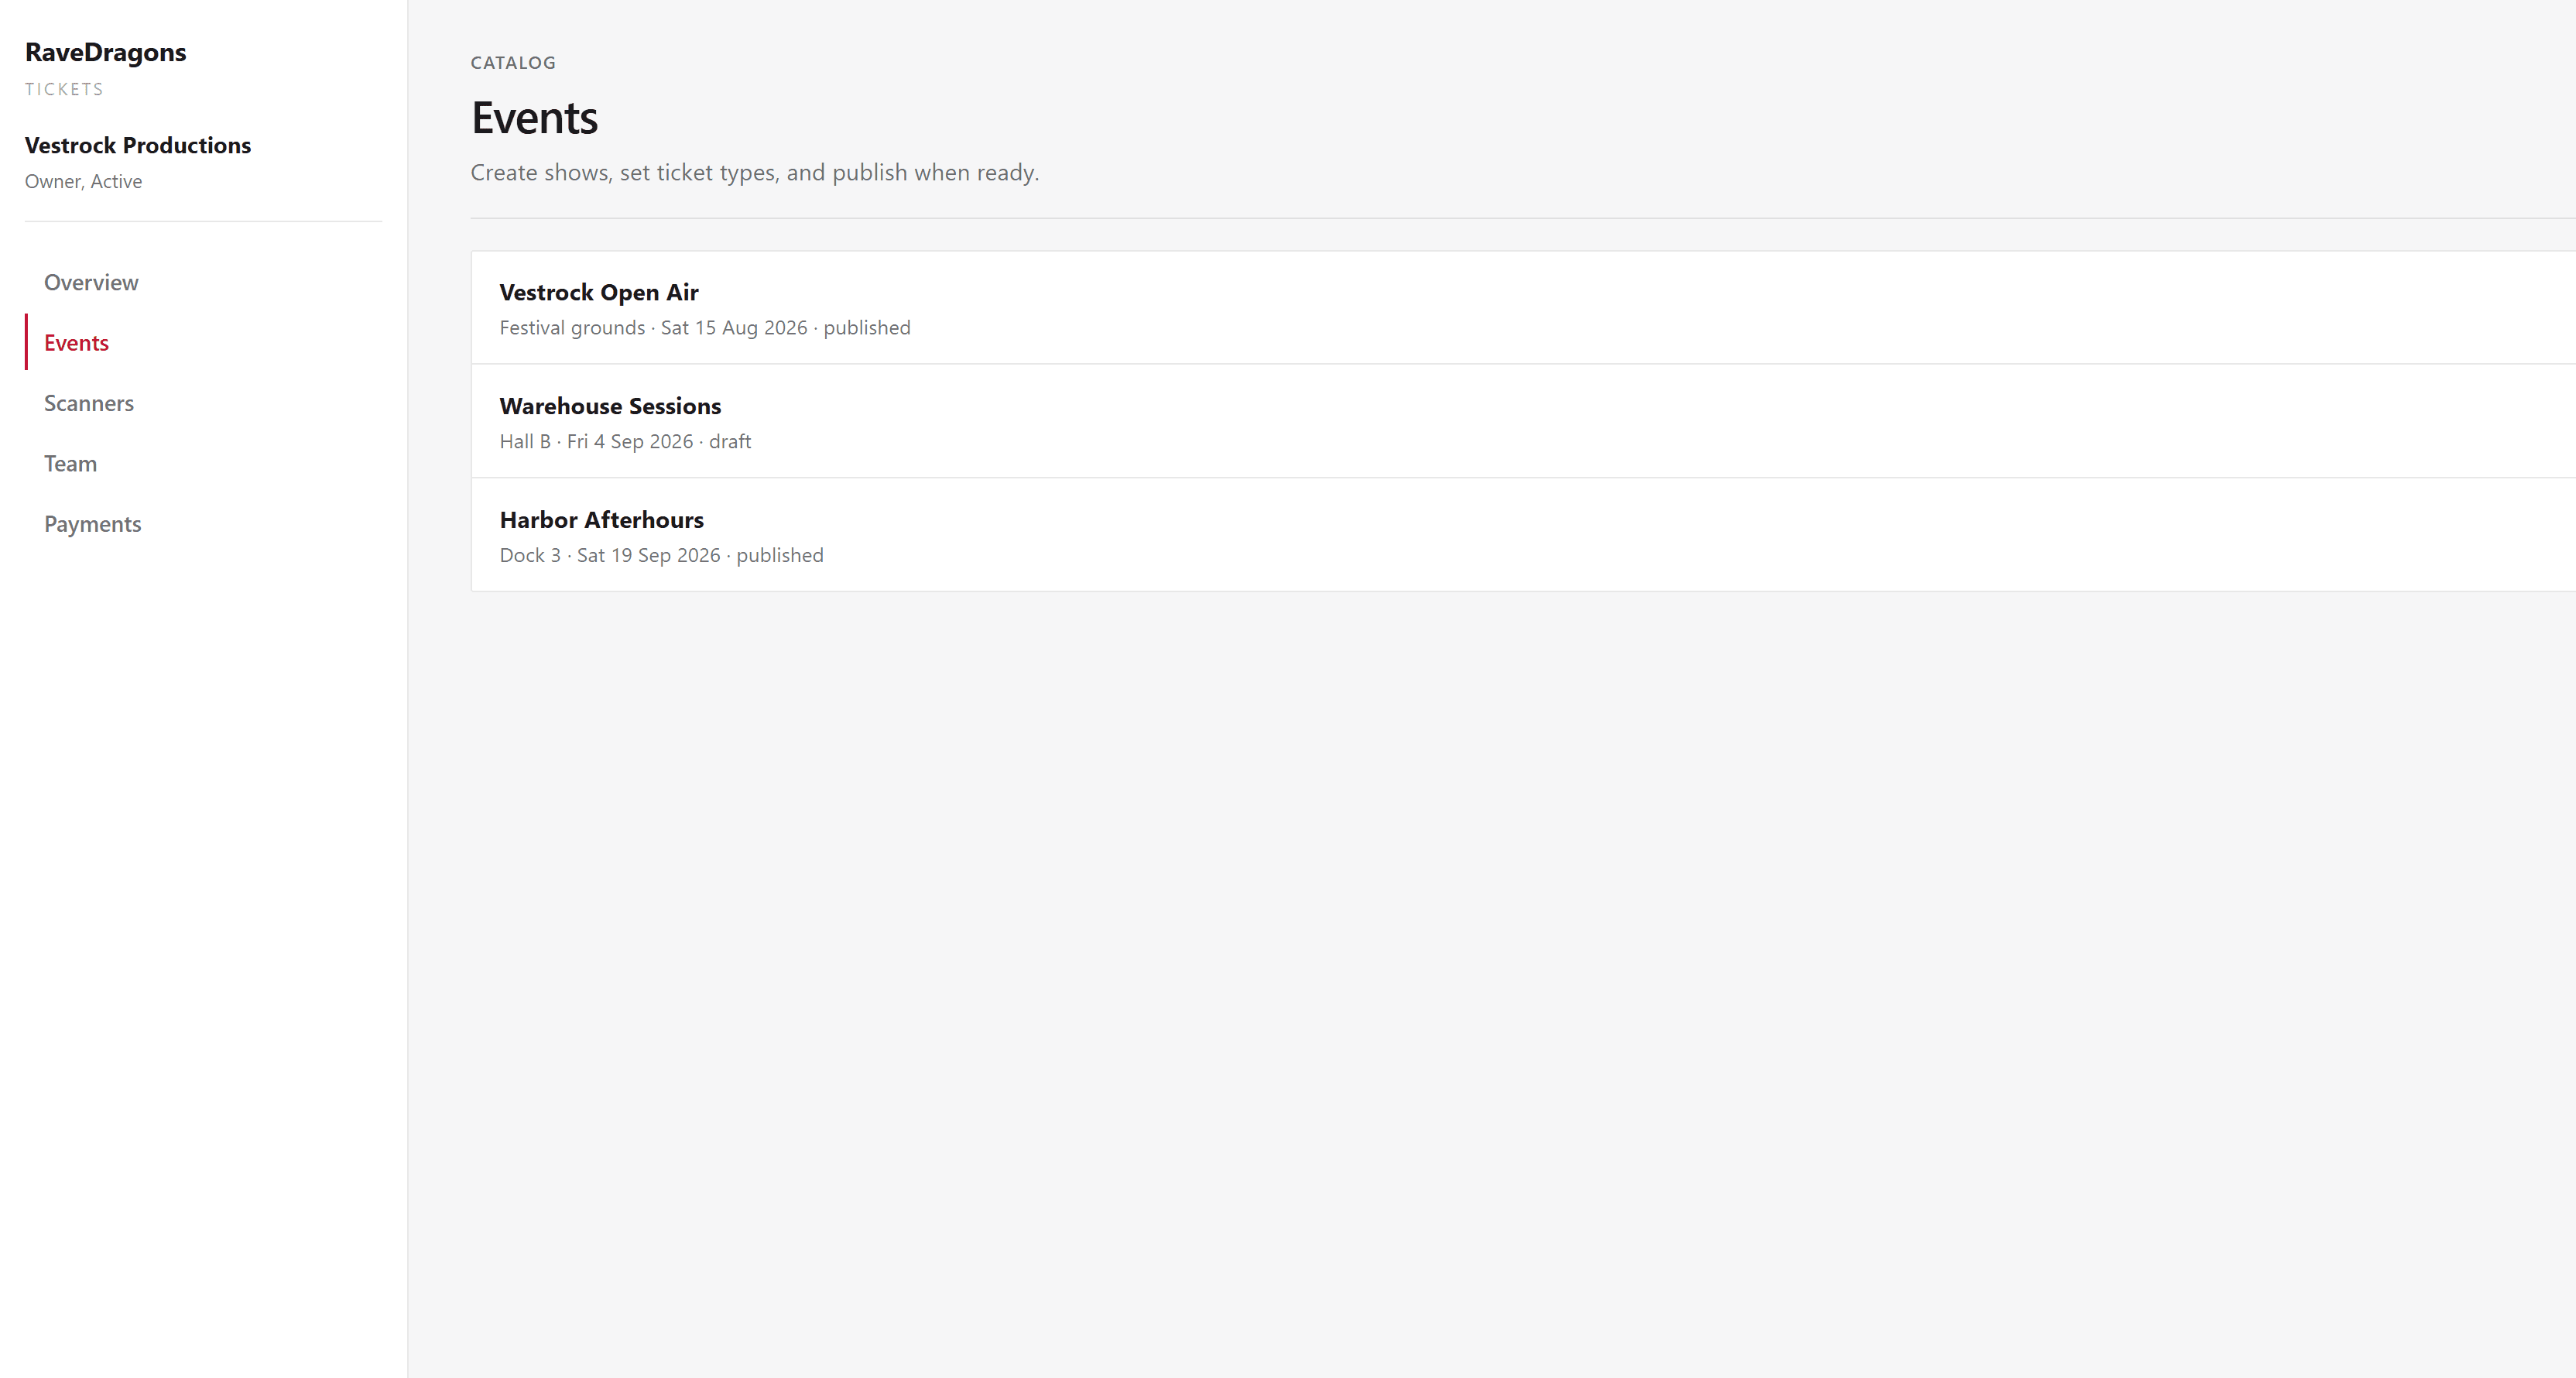
Create an event, set the venue and schedule, then configure general admission ticket types and optional reserved seating. Publish when you are ready. Buyers use the public event link to purchase.
3. Scanners
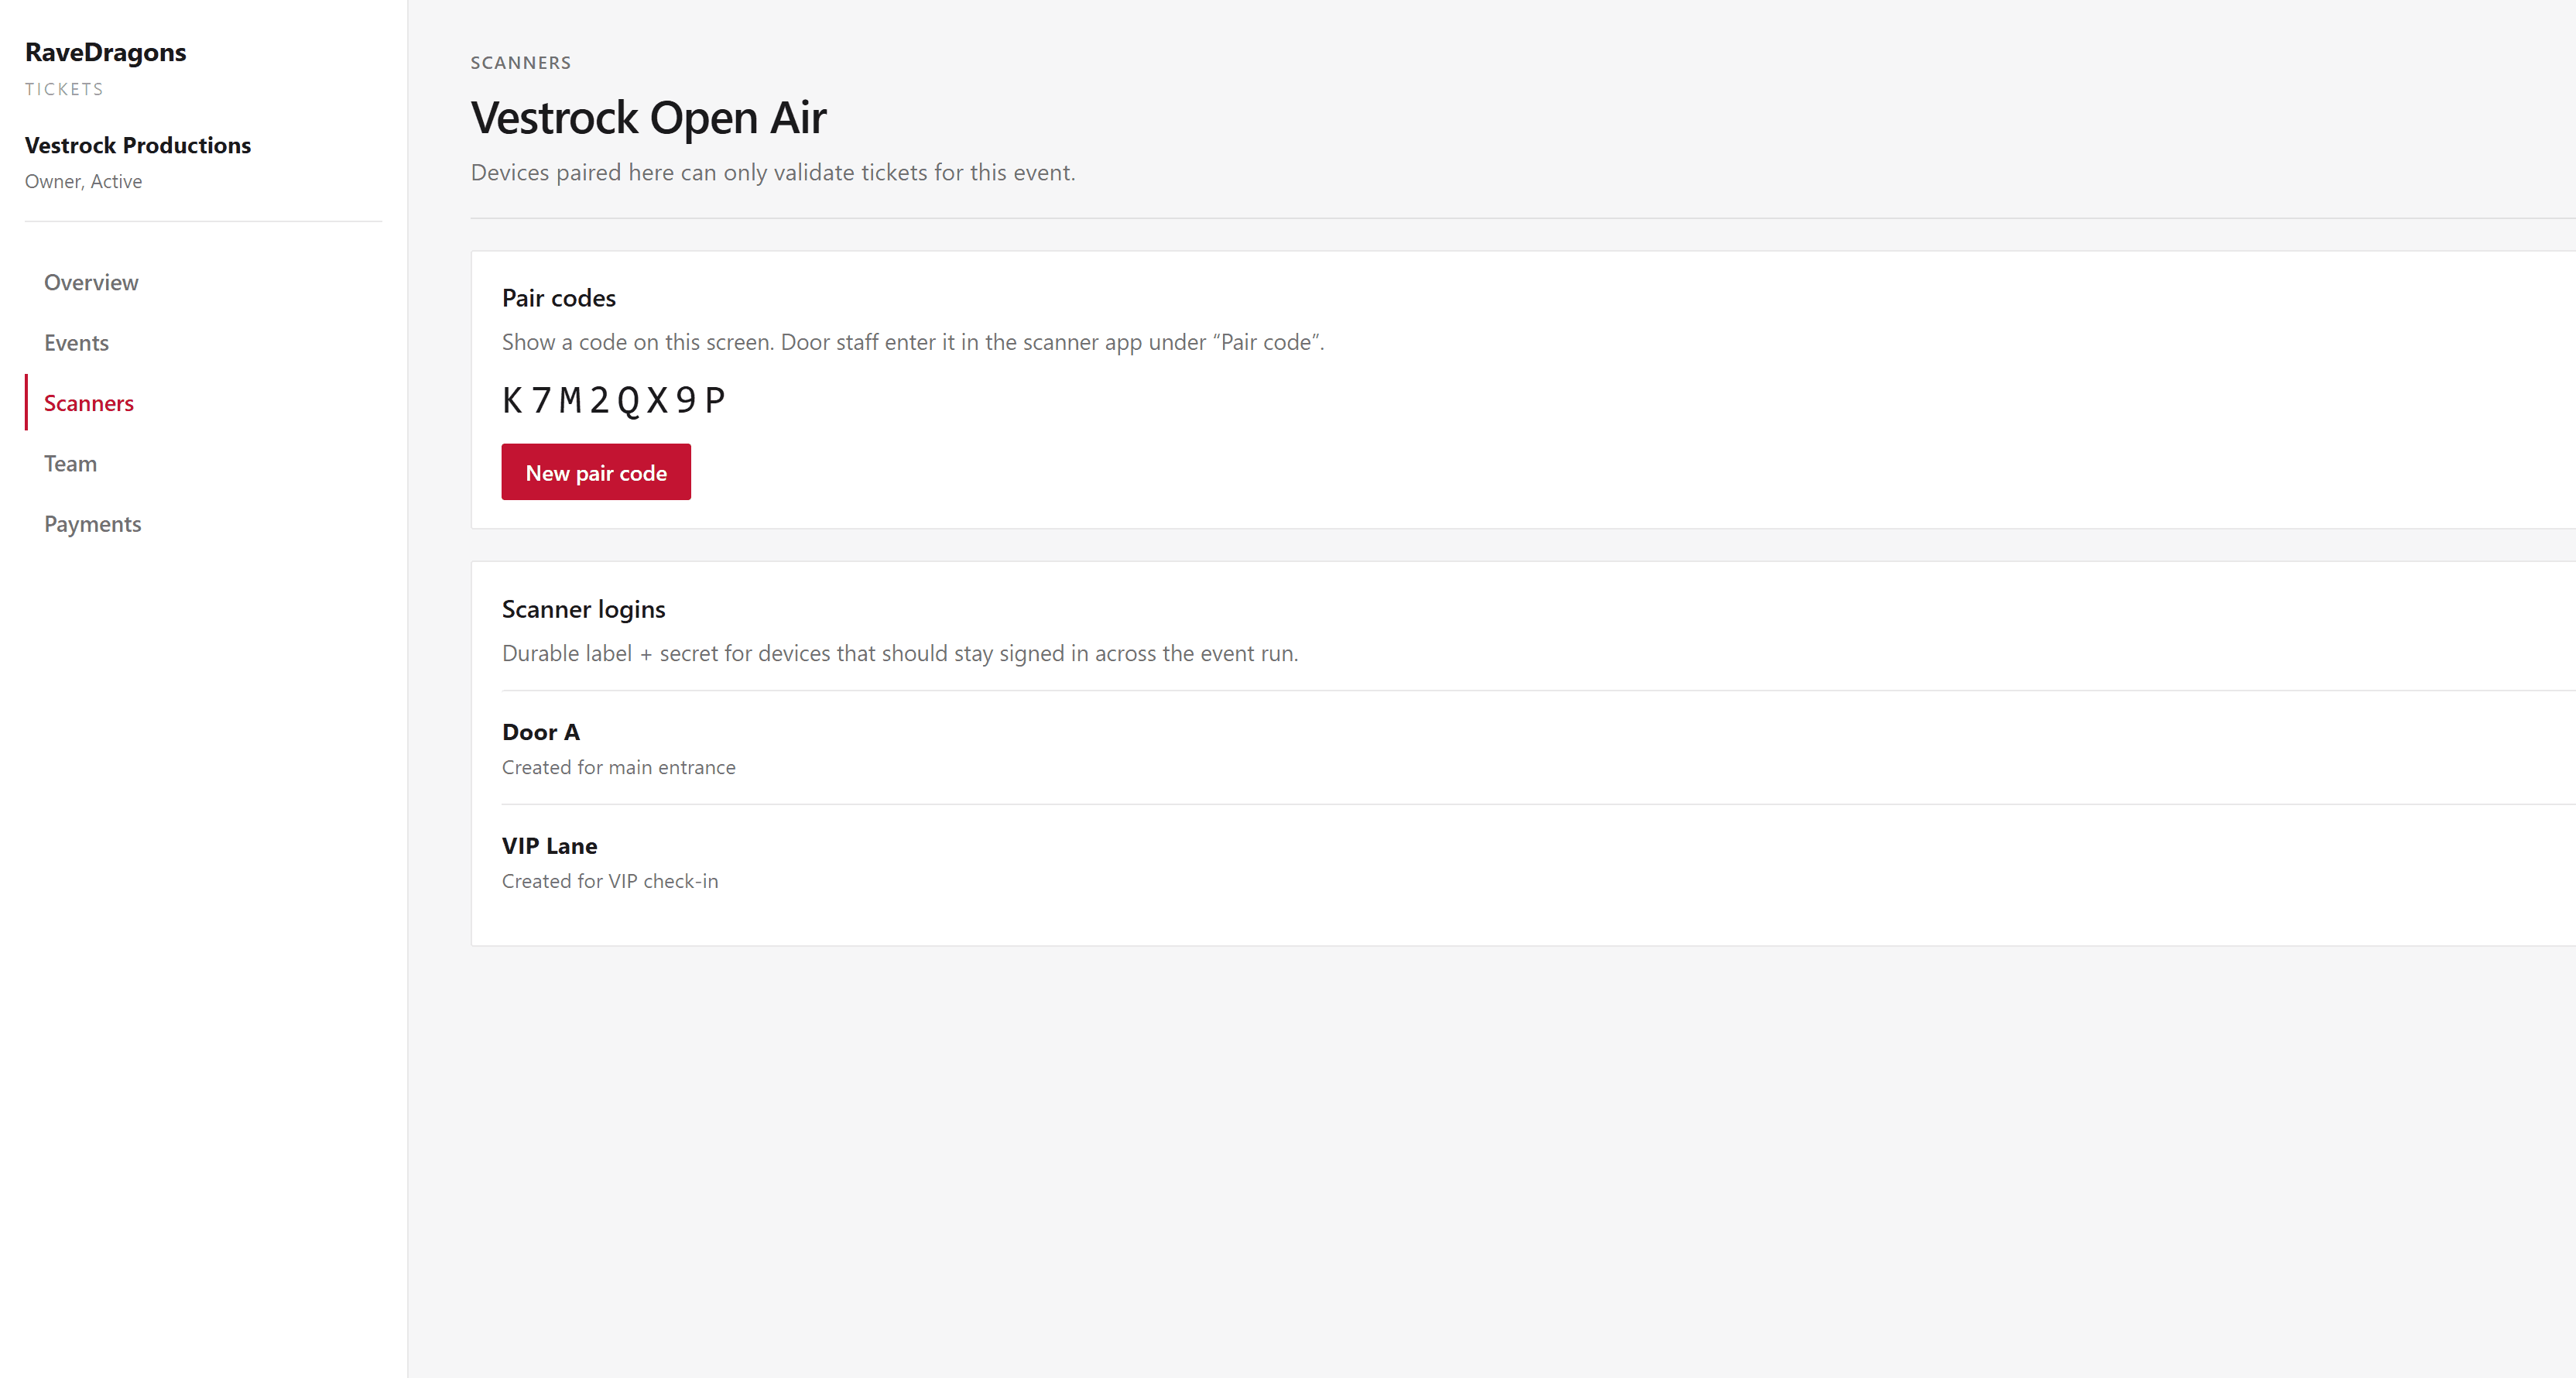
Under Scanners, pick an event and issue short lived pair codes or durable scanner logins (label and secret). Door devices only validate tickets for that event. You can revoke codes and sessions anytime.
4. Team
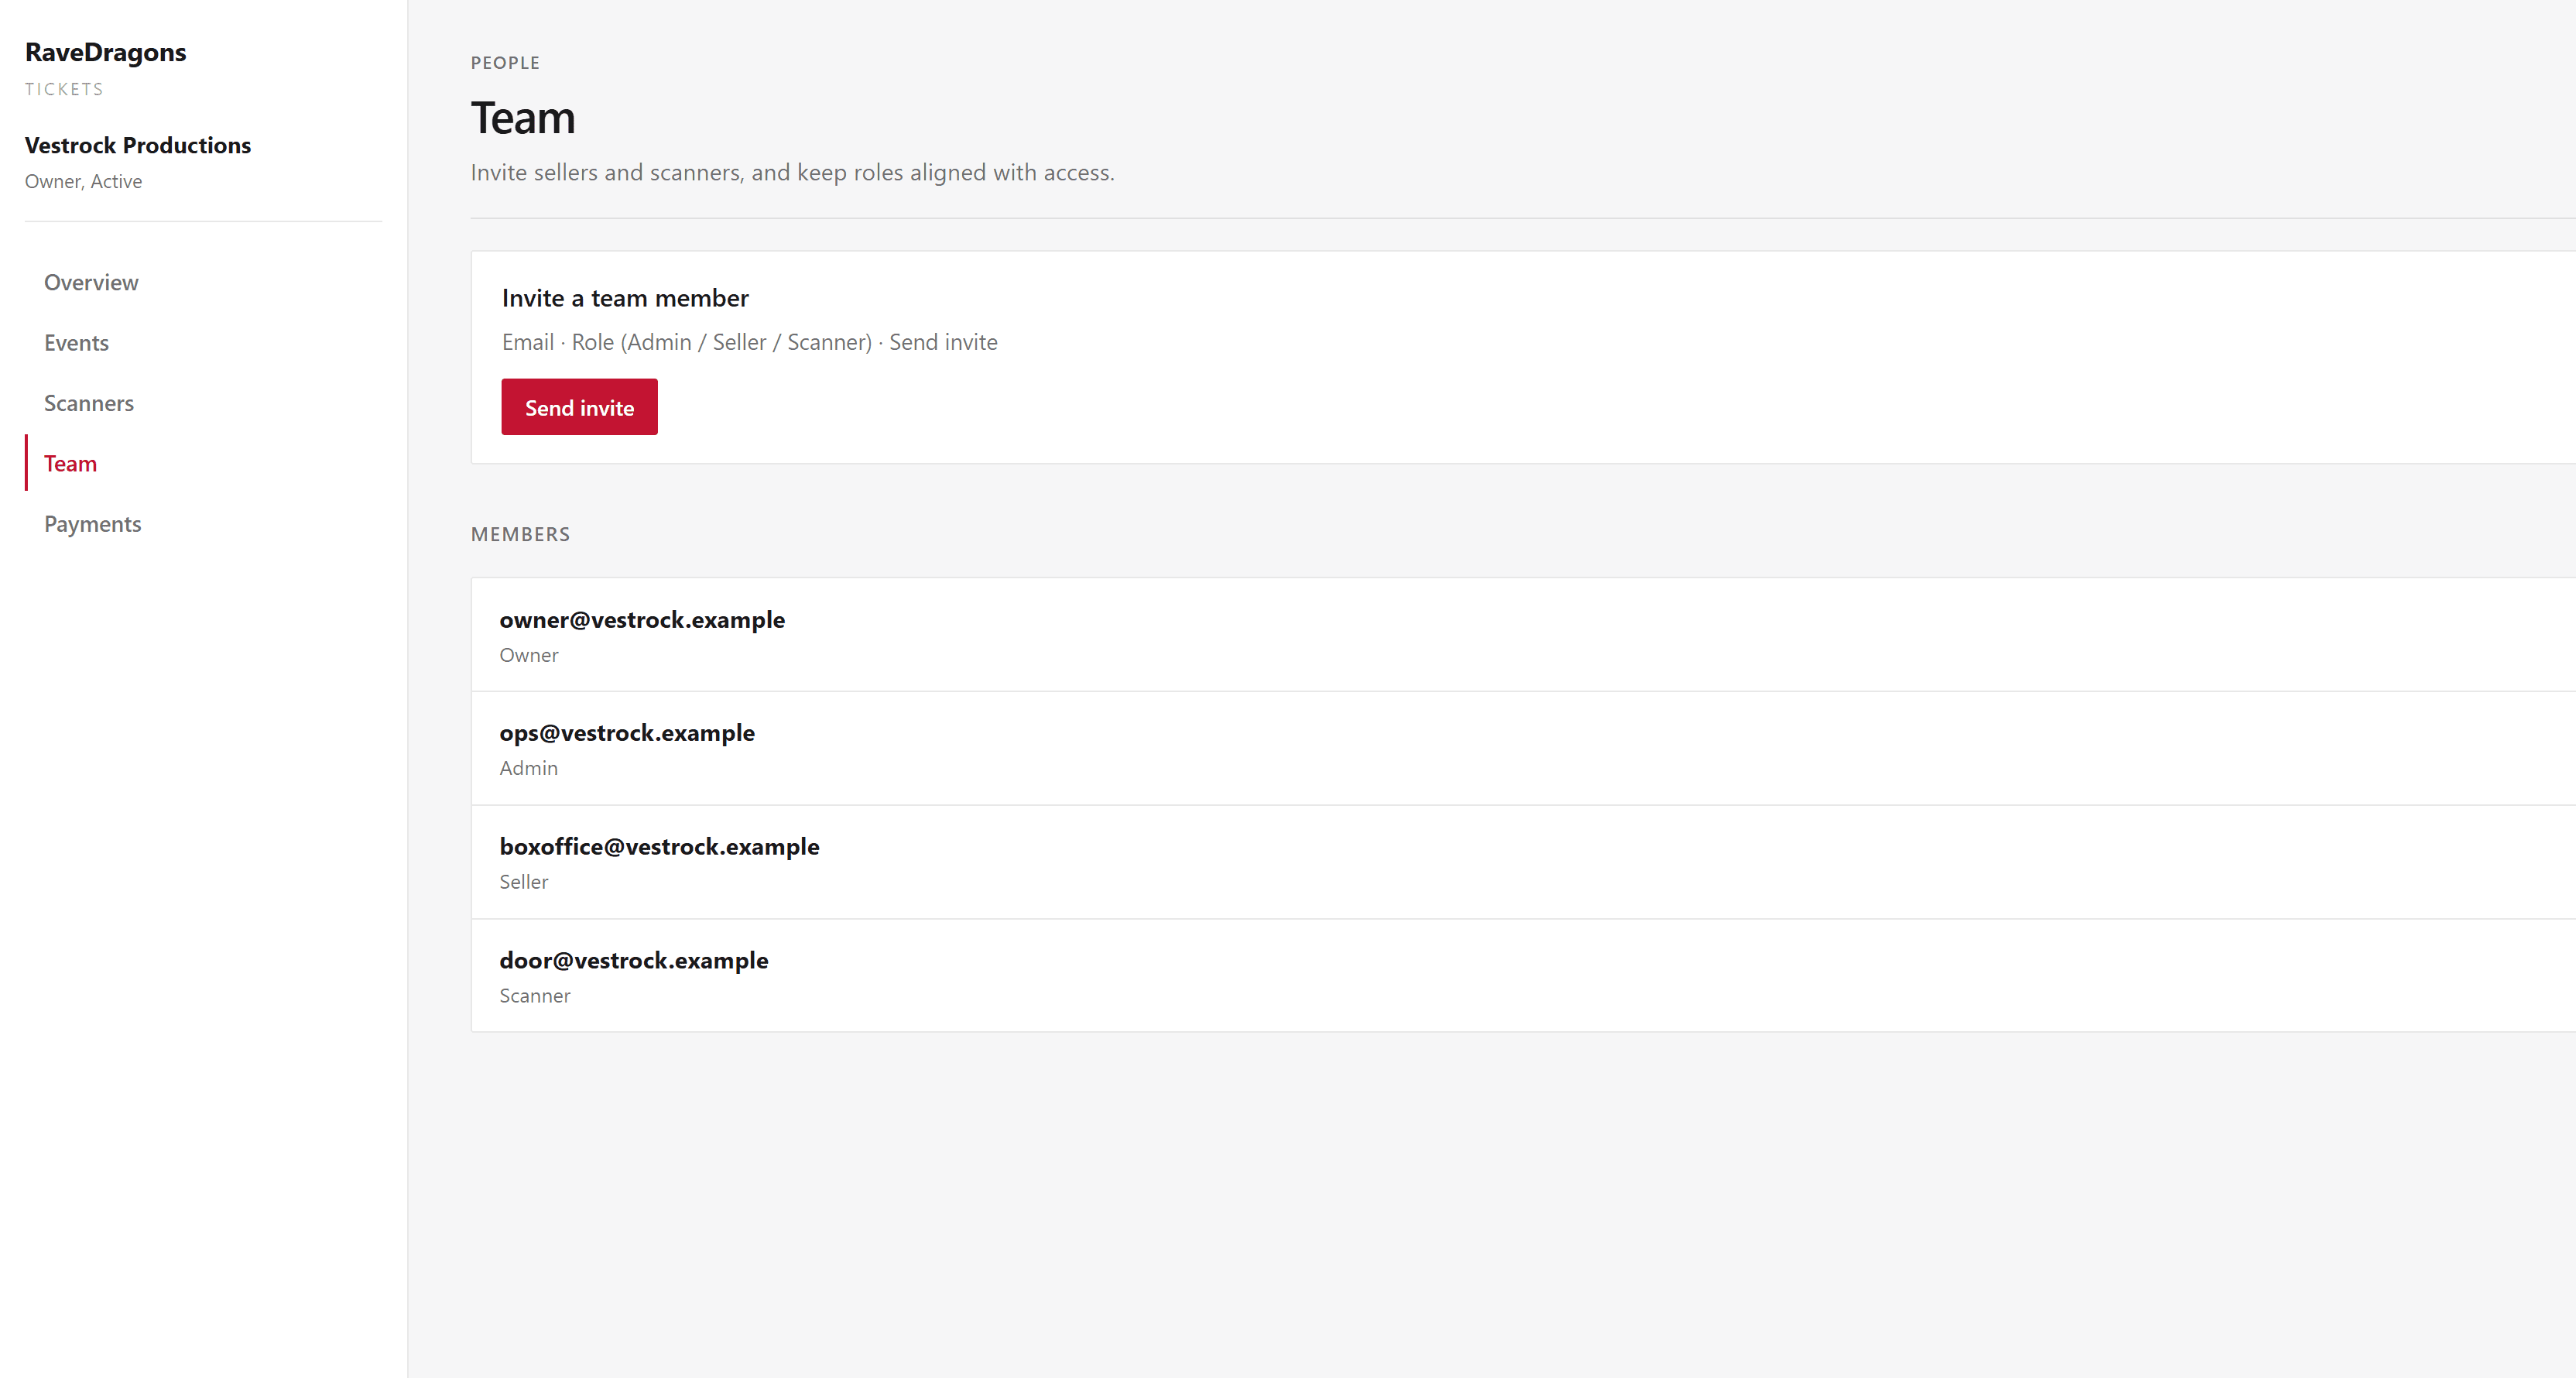
Invite owners, admins, sellers, and scanners by email. Roles control who can edit events, manage members, connect payments, or use the door scanner app with a staff account.
5. Payments
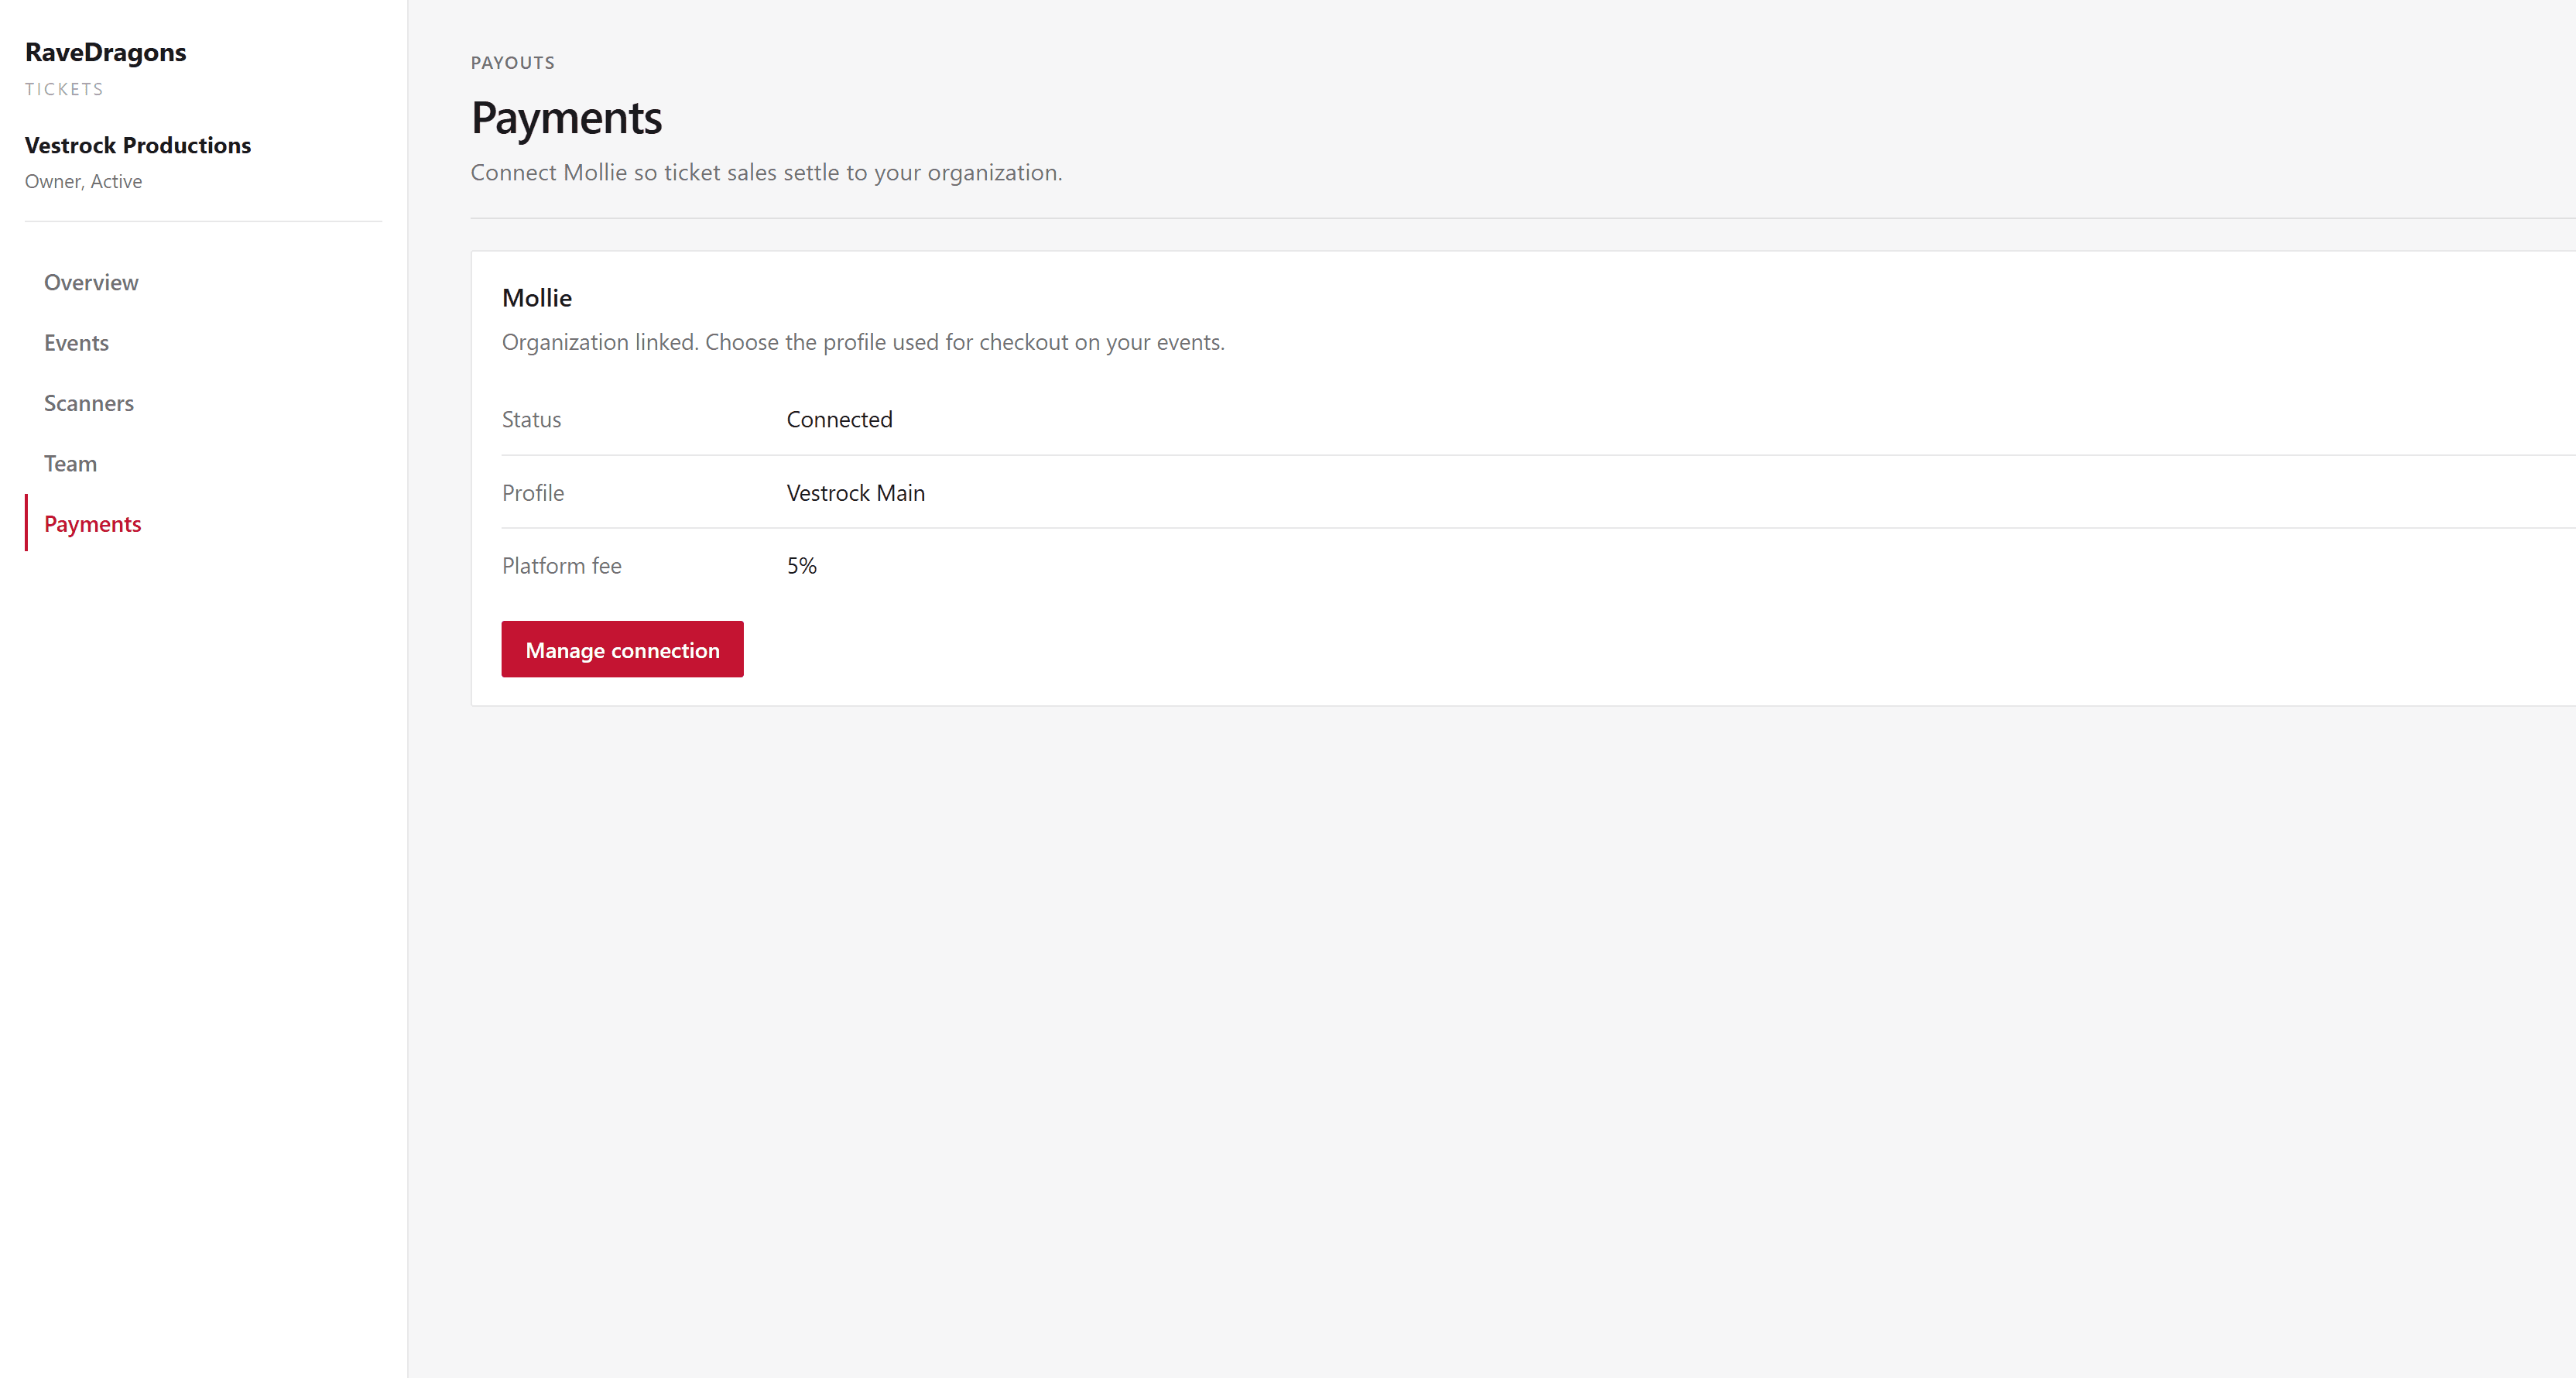
Owners connect Mollie so ticket sales can settle to your organization. Choose the Mollie profile you want to use, reconnect if needed, and keep payouts tied to the right company.
Ready to try it?
Register a company account, walk through onboarding, then create your first event. Door staff can use the scanner app with a pair code from the Scanners hub.